Yeti’s Digital Forensics Adventure — Imaging a Compromised Drive
Hey everyone — 404 Yeti here, back from the frozen tundra with a fresh digital forensics challenge!
Today, we’re going to learn how to safely capture a forensic image of a compromised virtual machine.
This process is one of the most important steps in any incident response or digital investigation — so let’s get those mittens on and dig in!
Objective
We’ll simulate a compromised virtual machine (VM), then create a forensic copy of its hard drive that can be analyzed safely — without altering the original evidence.
Tools Used
- VirtualBox or VMware — our sandbox for simulating the attack
- Atomic Red Team — to generate attack behavior
- FTK Imager — to examine the disk contents
- Arsenal Image Mounter — to safely mount forensic images
- Clean forensic workstation VM — to maintain chain of custody
- Step 1: Simulate a Compromise
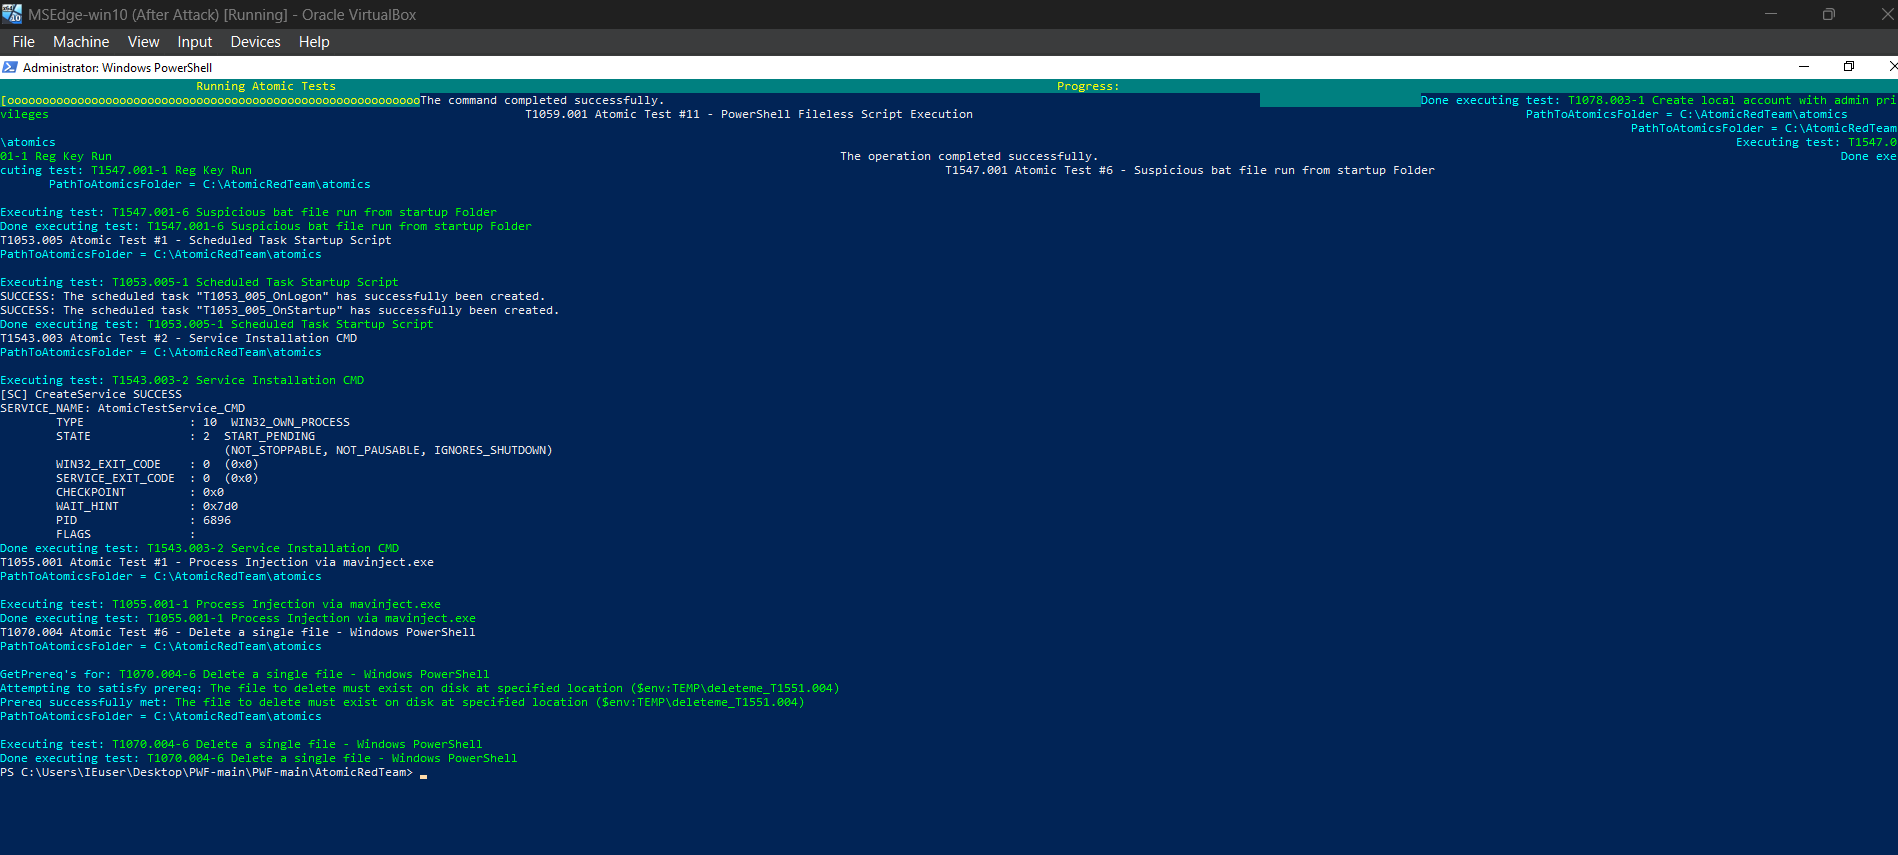
Let’s start with a victim VM. We’ll use Atomic Red Team to simulate an attack.
After running the atomic test, we see indicators that the VM is compromised — time to capture evidence.
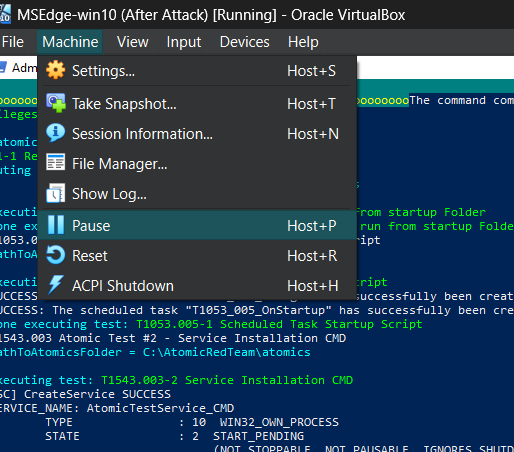
🧊 Yeti Tip: Always pause the VM first — never copy a live system unless you’re doing volatile memory capture.
we have labeled ours "after attack"
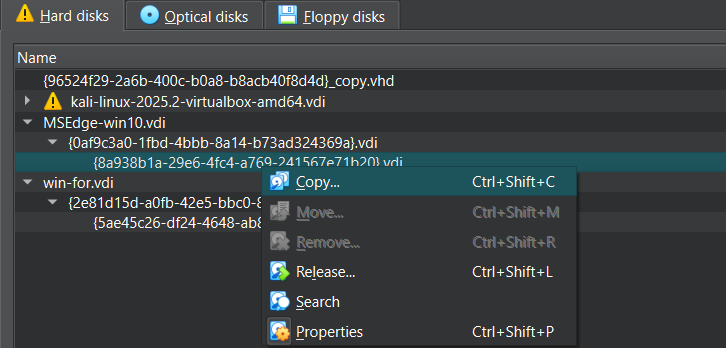
- Step 2: Preserve the Evidence
Pause or power off the VM.
Now, we’ll export the disk:
- Convert the
.vdi(VirtualBox disk) to a.vhdformat for compatibility with forensic tools.
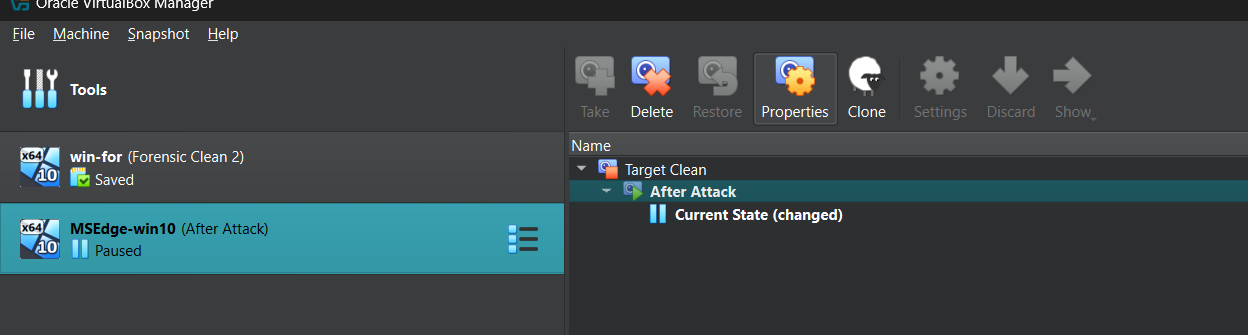
- Take a snapshot and label it clearly (e.g.,
AfterAttack). - Shut down the VM completely.
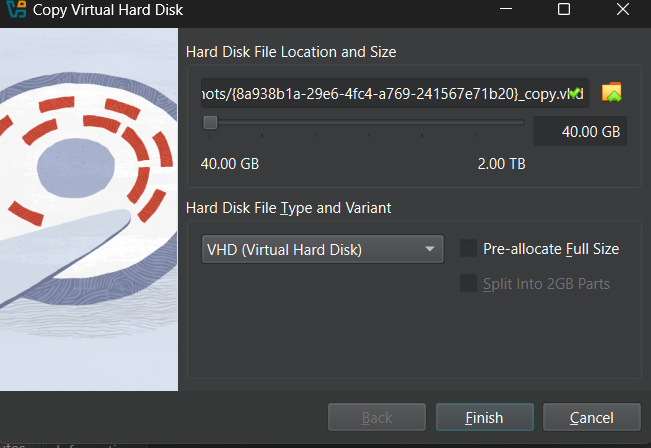
in our case we already saved the vhd

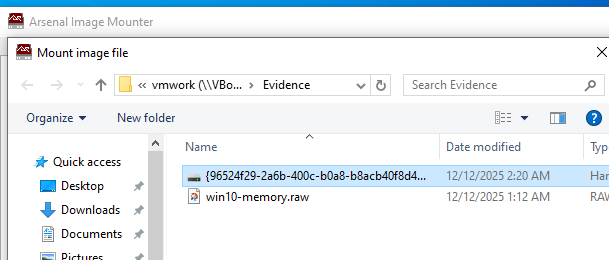
Step 3: Load the Evidence into Arsenal
Move the .vhd file to your forensic workstation — a clean, isolated environment.
Open Arsenal Image Mounter and mount the .vhd file as read-only.
This ensures data integrity — we’re observing evidence, not changing it.
✅ Always use “Read Only” mode to maintain forensic soundness.

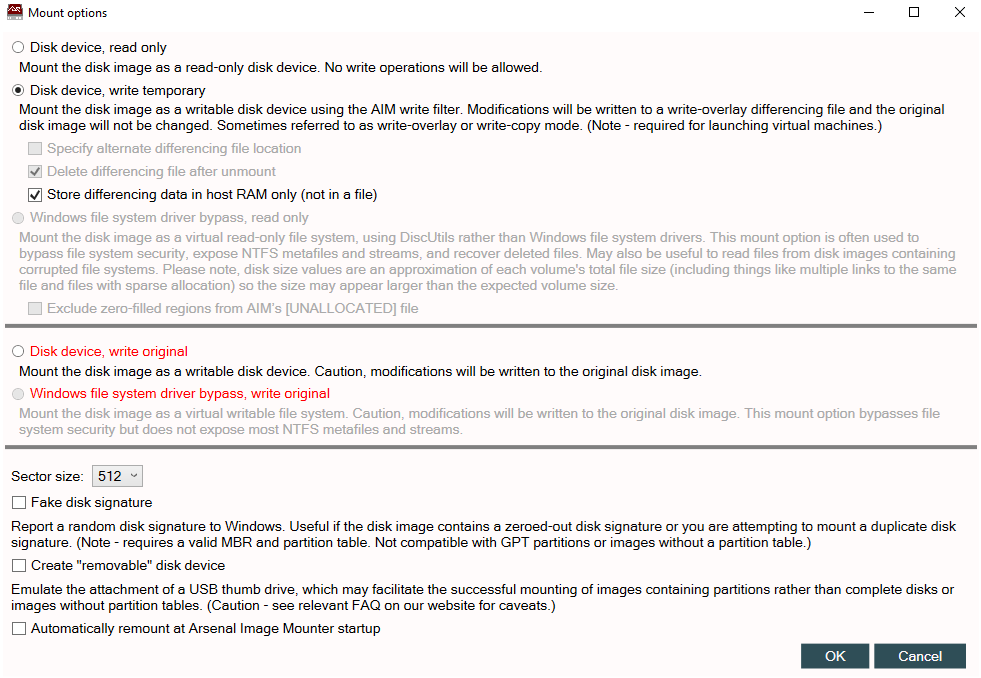
now we have a clean forensic copy that we will not alter, which makes it compliant for investigation purposes.

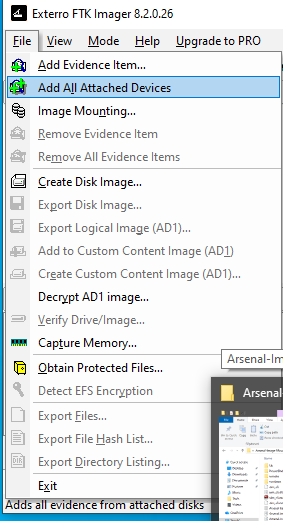
Step 4: Load the Drive in FTK Imager
Now open FTK Imager, one of the most trusted forensic viewing tools.
Here’s the process:
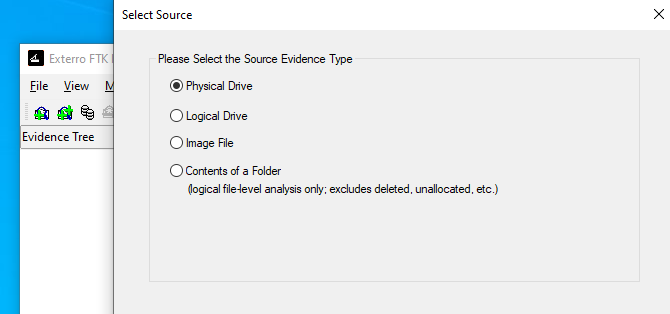
- Go to
File → Add Evidence Item. - Choose “Physical Drive”.
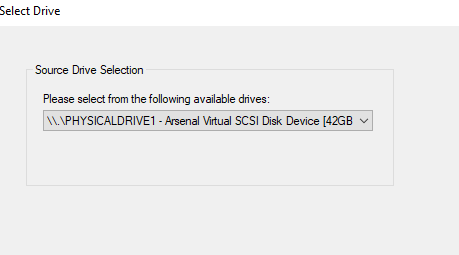
- Select the Arsenal Virtual SCSI Drive (Drive 1).
- Click Finish to load the evidence.
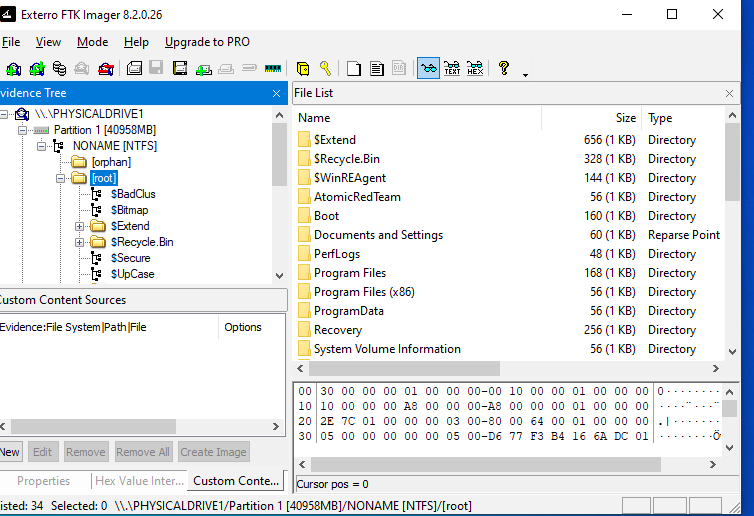
You’ll now see the entire drive structure, including:
- File System (NTFS, FAT, etc.)
- Deleted files
- System artifacts (Registry, logs, etc.)
And most importantly — you can browse it without altering a single byte.
now we can see the content of this hard drive without altering info
Why This Matters
This process is fundamental to digital forensics and incident response.
It ensures:
- Evidence Integrity — Original data stays untouched.
- Chain of Custody — The process is repeatable and documented.
- Accurate Analysis — Analysts can recover deleted or hidden data.
If this were a real-world case, you could now extract artifacts (like browser history, registry hives, or malware samples) and begin your forensic timeline analysis.
Final Thoughts
By following these steps, you’ve learned how to:
Simulate a compromised system
Capture a clean forensic image
Mount and analyze it safely
This is how digital forensics starts — not with flashy tools, but with discipline, procedure, and precision.
“A good investigator doesn’t chase data — they preserve it.” — 404 Yeti 🧊
Stay curious, stay methodical, and stay frosty.
Yeti out. 🐾