🧪 Postman 30 Day Challenge – Day 1 Collecting Forks
Hey everyone, 404Yeti here!
I’ve officially kicked off the Postman 30 Day Challenge to level up my API testing skills — not just for development, but for security.
Why?
Because APIs are everywhere — and securing them is one of the most underrated but critical skills in modern pentesting. There’s a huge need for testers who actually understand API behavior, and Postman is one of the best tools out there for building that muscle.
🎯 Day 1: Collecting Forks – Let’s Break It Down
Today, I tackled:
✅How to send a POST request
✅ Setting up the target URL
✅ Inspecting the response
✅ Understanding the User-Agent
✅ Making a GET request with query parameters
✅ Interpreting test results
Pretty packed for Day 1, right?
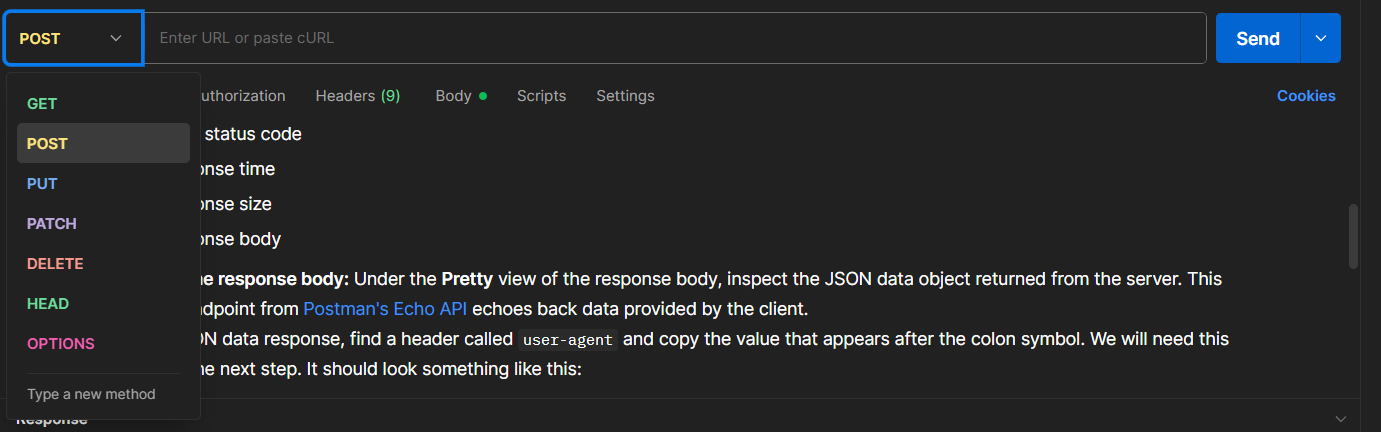
🚀 Getting Set Up in Postman
Let’s start with the method.
🔧Knowledge time:
POST sends new data to the server (like submitting a form)
So in this challenge, we’re working with POST and GET.
🎯 Target URL
Our request is going to be:
https://postman-echo.com/post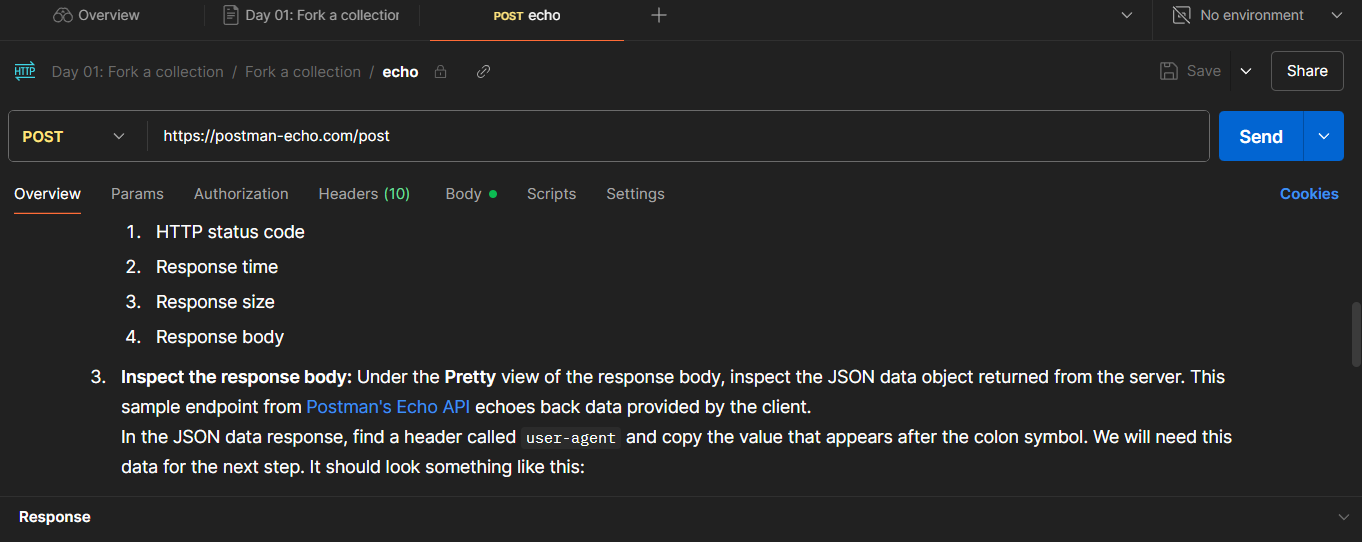
This endpoint is set up by Postman just for testing purposes. It "echos" back what we send.
📤 Sending a POST Request
Once the method and URL are set, we hit Send.
📡 Postman fires off the request and we get a response.
✅ If you see 200 OK, that means your request was successful. Always check the status code — it’s your first clue that something went right (or terribly wrong 😅).
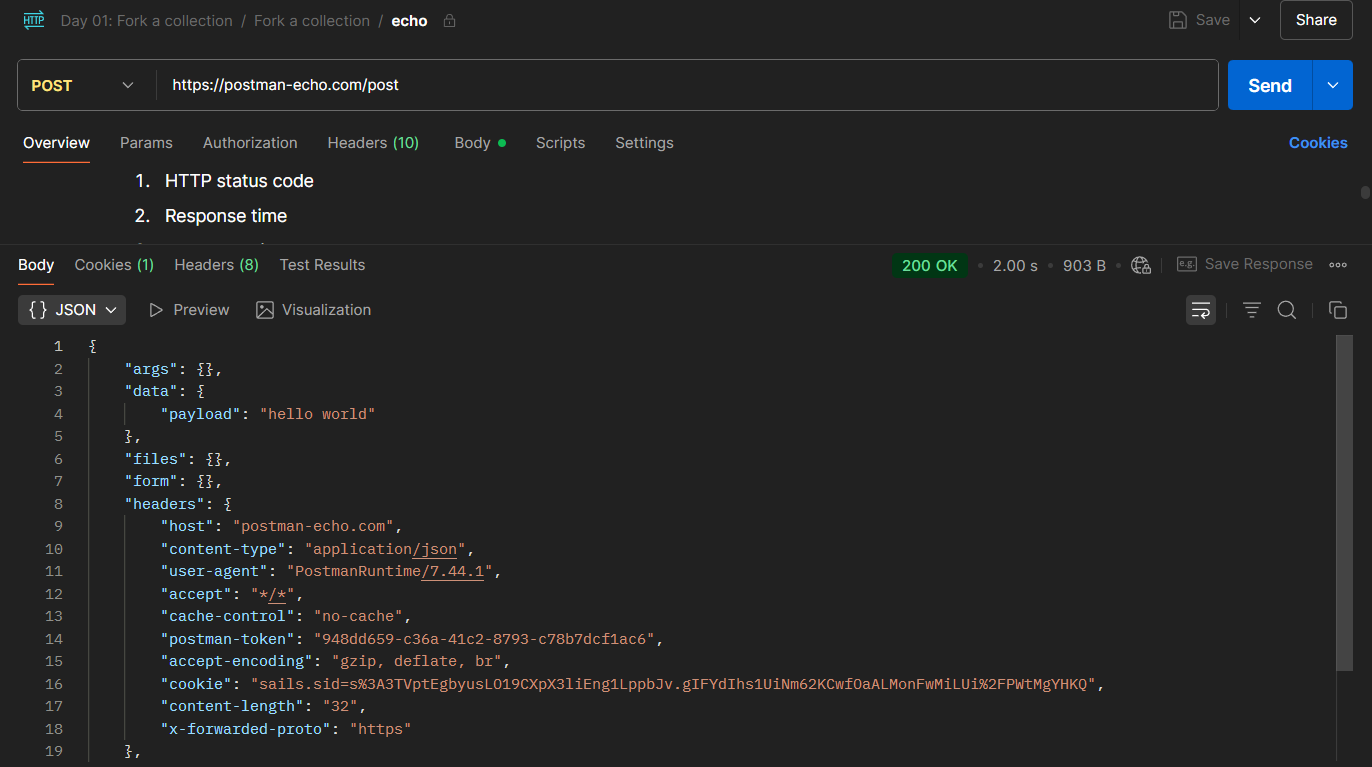
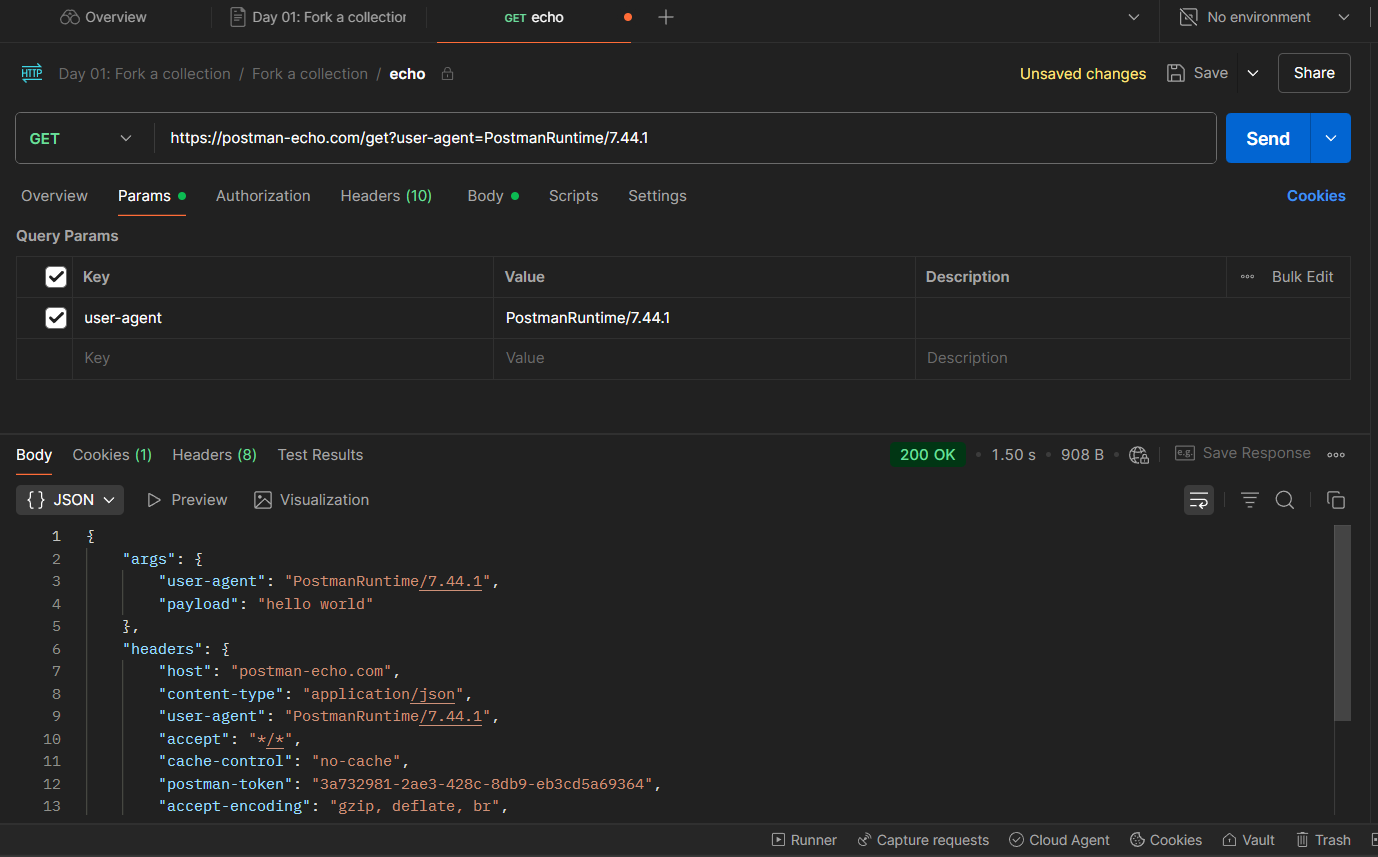
🧾 Headers & User-Agent
Next up: the Headers tab.
We scroll through the headers and find one key piece of info: the User-Agent.
In this challenge, it looks like this:
PostmanRuntime/7.44.1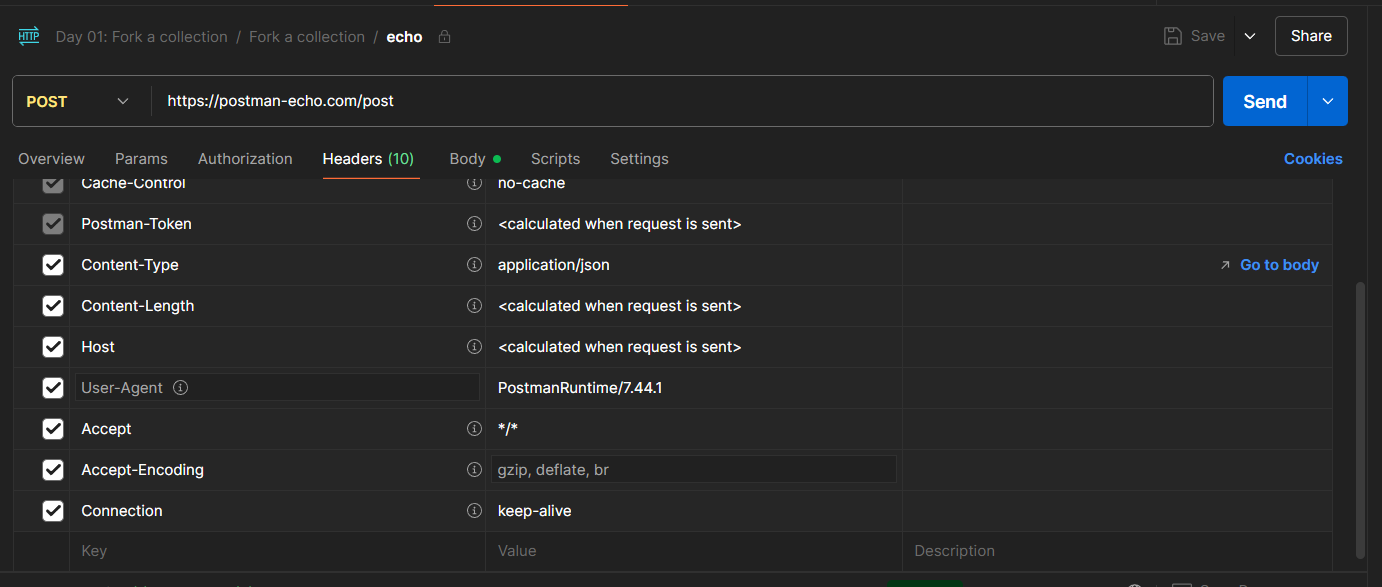
💡 The User-Agent identifies the client making the request.
It tells the server what kind of client or tool is hitting the endpoint — Postman in this case. This can be useful for debugging, analytics… or fingerprinting during recon.
Now we will take this information and submit our answer!
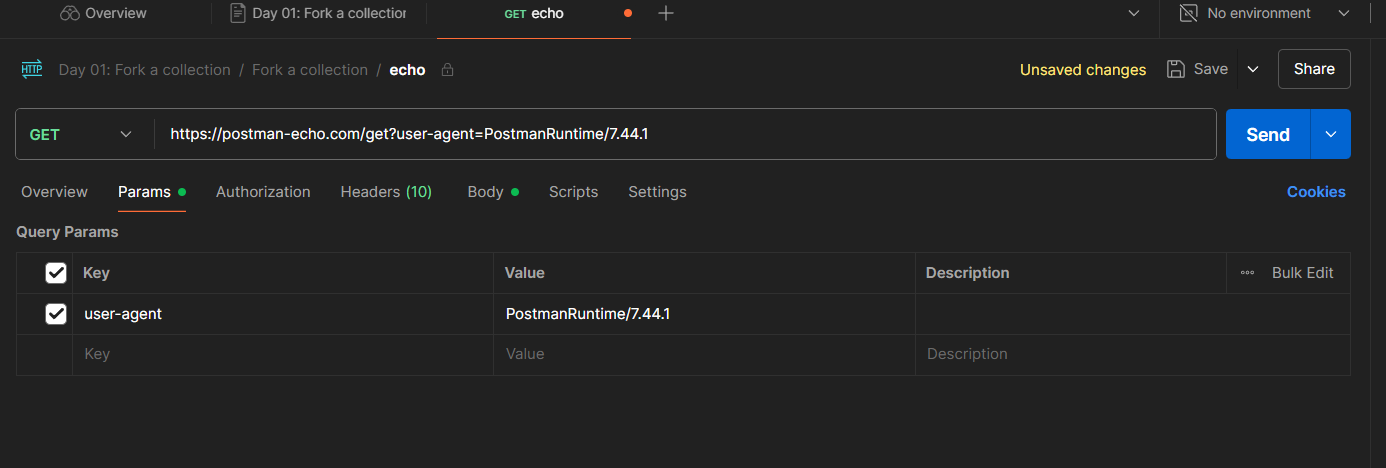
🔁 The GET Request with Parameters
Now we flip the script and switch to a GET request.
Goal: Send the user-agent as a query parameter to a different endpoint and inspect what we get back.
So to set up our target we will use something a bit different we will use the Target URL

🧙♂️ Here's How:
- Change method to
GET - Set the target URL (provided by the challenge)
- Go to the Params tab
- Add a new parameter:
- Key:
user-agent - Value:
PostmanRuntime/7.44.1
- Key:
Postman automatically updates the URL with the parameter — easy win!
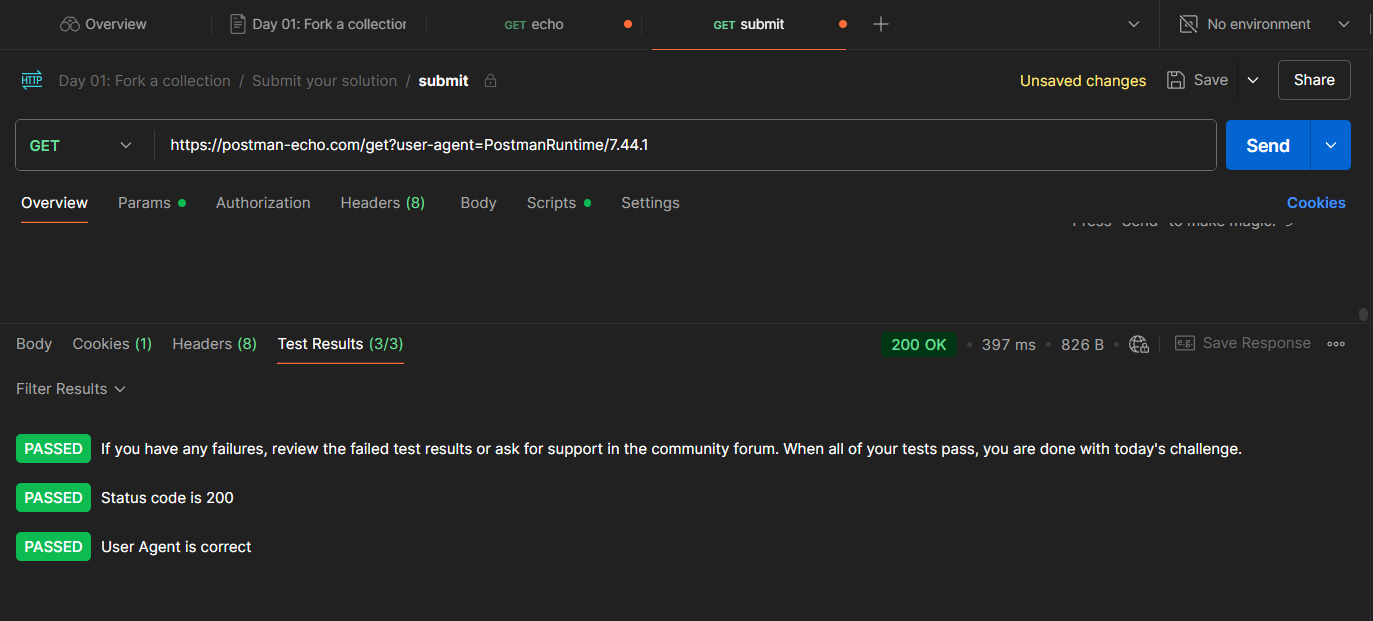
📊 Test Results & Visualize Tab
Hit Send again.
Check the Test Results tab — if you see 3/3 tests passed and 200 OK, you're on fire 🔥.
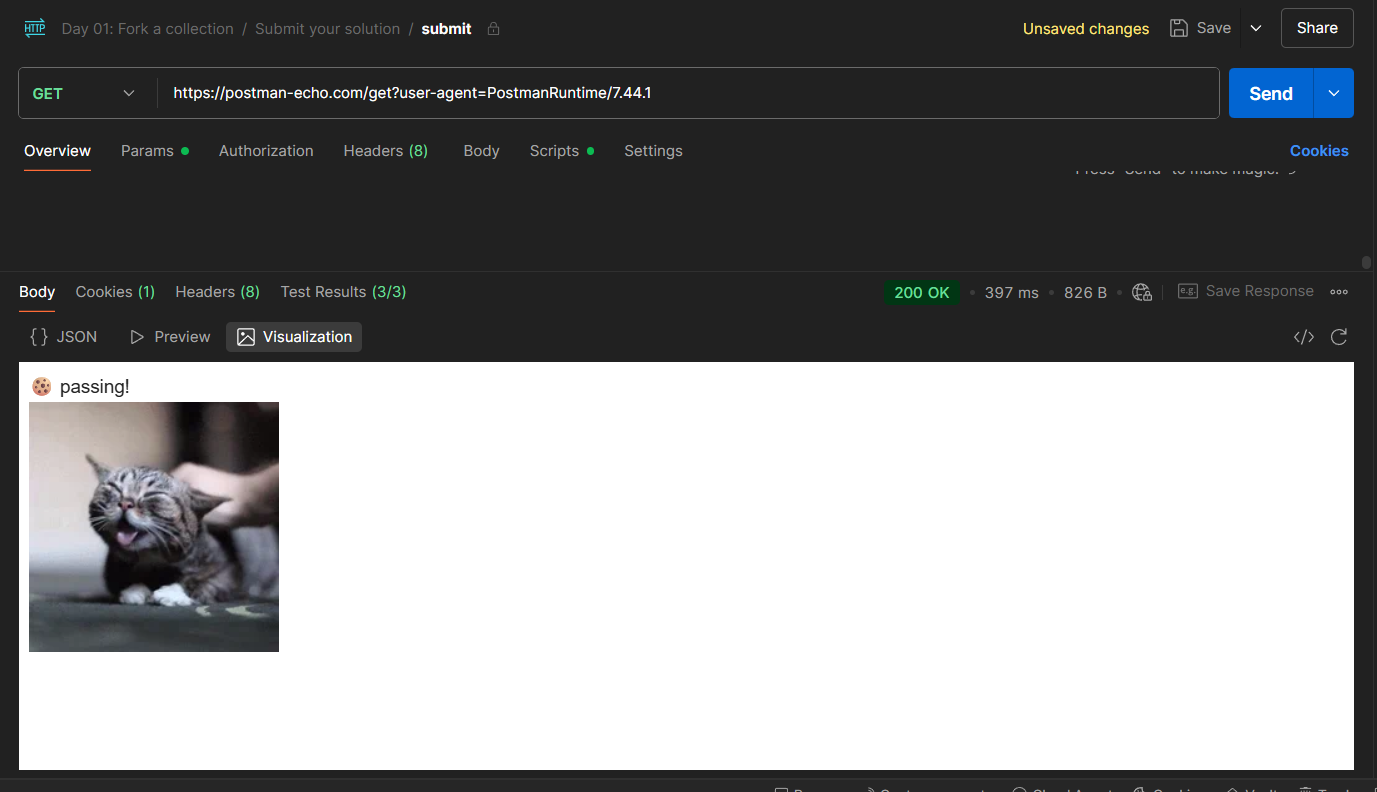
Now click on the Visualize tab...
🎉 Surprise! You’ve earned your first badge:
🖼️ A tiny cat greets you from the snow.
🧠 What We Learned Today
- How to make basic
POSTandGETrequests - How to set headers and send query parameters
- How to inspect status codes and test results
- How User-Agent works in requests
- Postman is user-friendly but powerful — perfect for learning AND testing APIs securely
🔐 Why This Matters for Security
API security is one of the most overlooked attack surfaces.
While developers are building features, they often forget about:
- Improper input validation
- Overexposed endpoints
- Poor auth handling
By using tools like Postman, you can explore, test, and eventually exploit those weaknesses — but you have to start with a solid foundation.
“If you want to break the web safely, start by knowing how to talk to it.” – 404Yeti
🧊 That’s a Wrap on Day 1!
That was a solid first step into Postman and API testing — simple on the surface, but powerful once you understand what’s going on.
Stick around — I’ll be posting my progress for all 30 days.
Follow along if you're into Go, hacking, APIs, or cats.
See you tomorrow in the Icebox!
404Yeti out. 🐾