📁 Postman Challenge – Day 3: Adding Request Details (Like a Pro)
Hey everyone, 404Yeti back in the Icebox! ❄️
Today is Day 3 of the Postman 30 Day Challenge, and we’re diving into something that may sound simple — but it’s a game-changer for productivity and security:
Organizing and enriching your requests with folders, variables, and metadata.
This is the kind of stuff that separates messy testers from confident pros. Let’s get into it.
🧩 Step 1: Create & Organize a POST Request
First, let’s create a basic POST request. We'll reuse our variable from earlier:
so we should use our parameters from last time {{baseURL}} and we will make this a /POST request and we will put some random data like this
{
 "data": "doodles"
}
Next save it as raw JSON body.
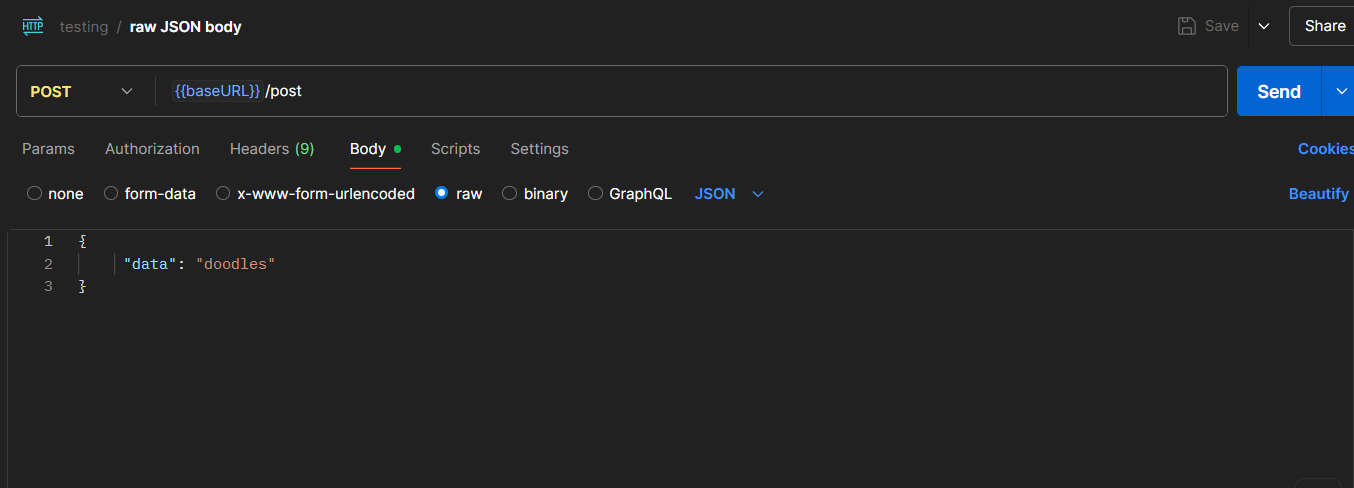
🧠 Don’t forget to set the Body type to raw → JSON in Postman.
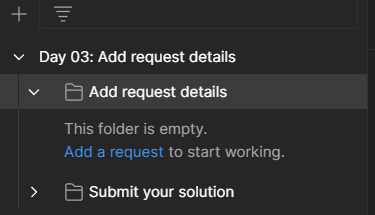
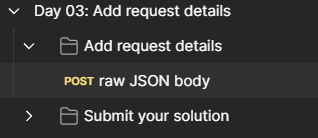
📁 Add It to a Folder
Now, drag and drop your request into a new folder inside your current collection — for example, name it Add Request.
📦 This is how you group related requests, which is incredibly useful when you’re dealing with different API modules, environments, or automation flows.
so go ahead and send it!

great! now lets move onto the next task
🔑 Step 2: Add a Collection ID to the Request
Here comes the detail work.
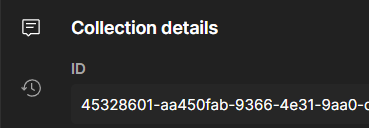
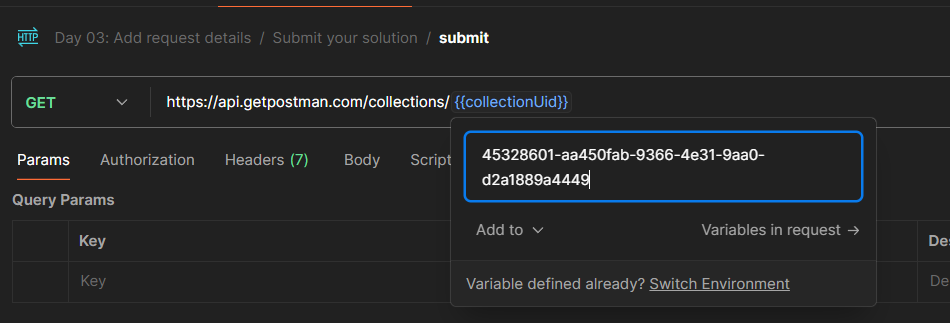
In some challenges or automation scripts, you need to reference your collection's unique ID.
How to Find It:
- Click on the collection you're working in
- Hit the "i" (info) icon
- Scroll down to "Collection ID"
- Copy that ID
it should look something like this
Now head back to your request, and add this as a new variable or field in your request body or headers (depending on the API’s requirements).
⚙️ Step 3: Configure Your API & Auth
If you haven’t already, go into Settings → Authorization and properly configure your token or API key setup.
🧊 Yeti tip: Keep sensitive tokens as environment variables and never hardcode them in your requests.
Once that's configured, go back to your request, double-check your headers, and hit Send. Then after you have that all set then you should run your request for validation.
🧪 Step 4: Validate That Response
Boom — if all goes well, you should see that familiar and beautiful:

🔐 Why This Matters (Security & Automation Vibes)
This challenge highlights something essential:
Reusable, modular testing = faster and safer workflows.
By:
- Keeping request details clean and organized
- Storing tokens securely
- Centralizing info like
baseURL,collectionID, or headers
…you’re setting yourself up for scalable testing and even automation via Postman’s Collection Runner or CI pipelines.
It also makes security testing cleaner, because it reduces human error (like leaking tokens or duplicating request logic all over the place).
❄️ Final Snowflakes
That’s it for Day 3! While this one felt simple, it actually lays the groundwork for bigger things — automation, token-based security testing, and more advanced scripting.
So keep your folders tight, your variables scoped, and your headers clean. Postman’s giving us the tools — and now we know how to use them like seasoned Icebox engineers.
Until next time,
404Yeti out. 🐾