CI/CD From the Icebox: Jenkins
Hey everyone, 404Yeti here!
Today I’m walking you through one of my biggest setups yet — building a custom Jenkins CI/CD environment using Docker, Go, and pipelines with agents.
This guide covers:
- 🧊 Setting up Jenkins with Docker
- 🛠 Running freestyle builds
- 🔁 Cloning Go projects and executing scripts
- 🧪 Building a pipeline with custom agents
- 🐋 Setting up Docker agent clouds and BlueOcean
Let’s get to work!
Step 1: Build the Jenkins Docker Image
We’ll start with a custom Dockerfile to install Jenkins, Docker CLI, and necessary plugins.
Dockerfile
FROM jenkins/jenkins:lts
USER root
RUN apt-get update && apt-get install -y lsb-release
RUN curl -fsSLo /usr/share/keyrings/docker-archive-keyring.asc\
https://download.docker.com/linux/ubuntu/gpg
RUN echo "deb [arch=$(dpkg --print-architecture) signed-by=/usr/share/keyrings/docker-archive-keyring.asc] \
https://download.docker.com/linux/ubuntu \
focal stable" > /etc/apt/sources.list.d/docker.list
RUN apt-get update && apt-get install -y docker-ce docker-ce-cli
USER jenkins
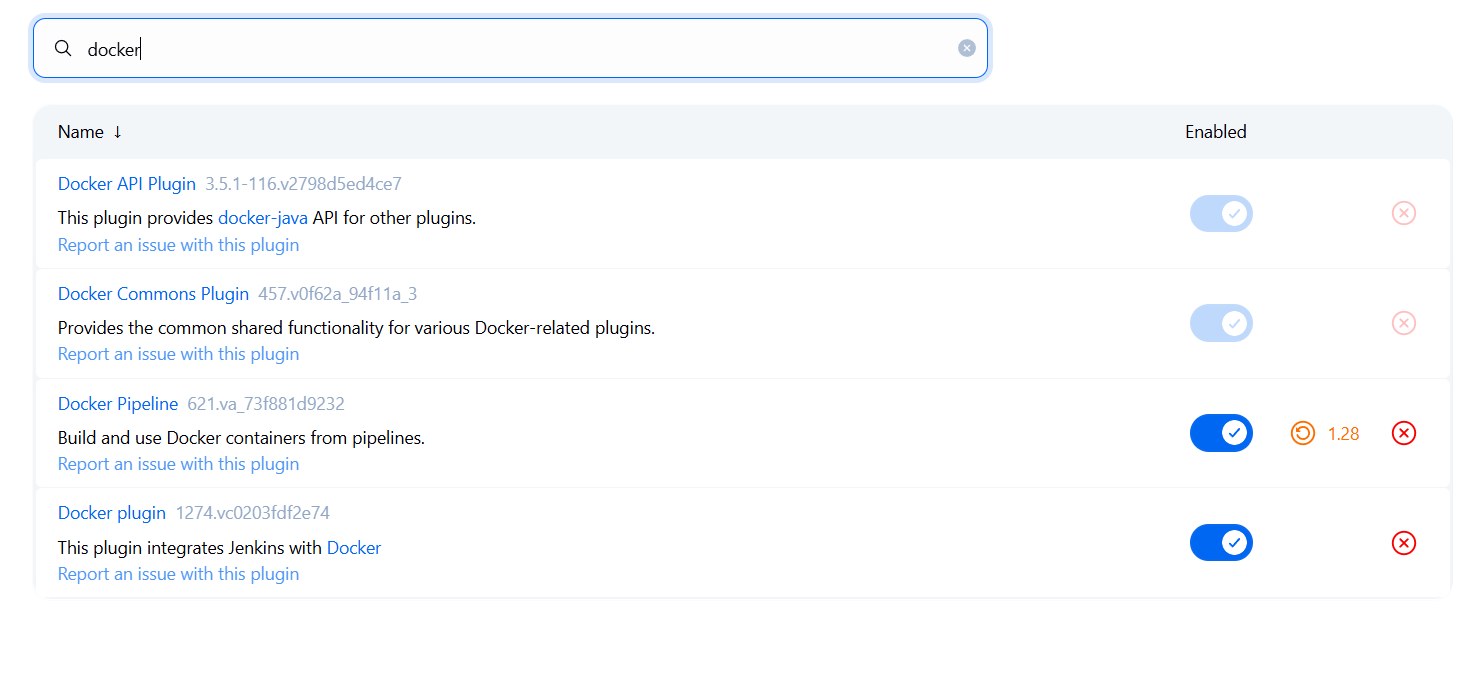
RUN jenkins-plugin-cli --plugins "blueocean:1.25.3 docker-workflow:1.28"Step 2: Create a Network for Jenkins
docker network create jenkinsStep 3: Run Jenkins
docker run --name jenkins-blueocean --restart=on-failure --detach \
  --network jenkins --env DOCKER_HOST=tcp://docker:2376 \
  --env DOCKER_CERT_PATH=/certs/client --env DOCKER_TLS_VERIFY=1 \
  --volume jenkins-data:/var/jenkins_home \
  --volume jenkins-docker-certs:/certs/client:ro \
  --publish 8080:8080 --publish 50000:50000 myjenkins-blueocean:2.332.3-1
now verify everything with
docker psOnce everything is set up we should go to our localhost to make sure it works ok
http://localhost:8080
Step 4: Unlock Jenkins
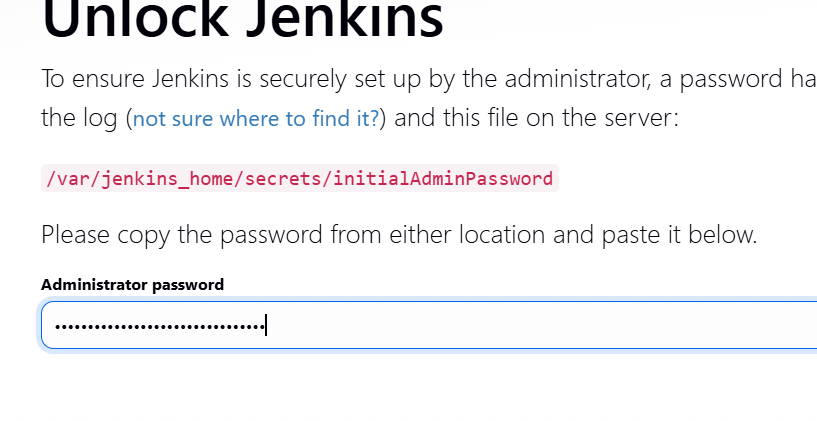
Run this command to get your Jenkins unlock password:
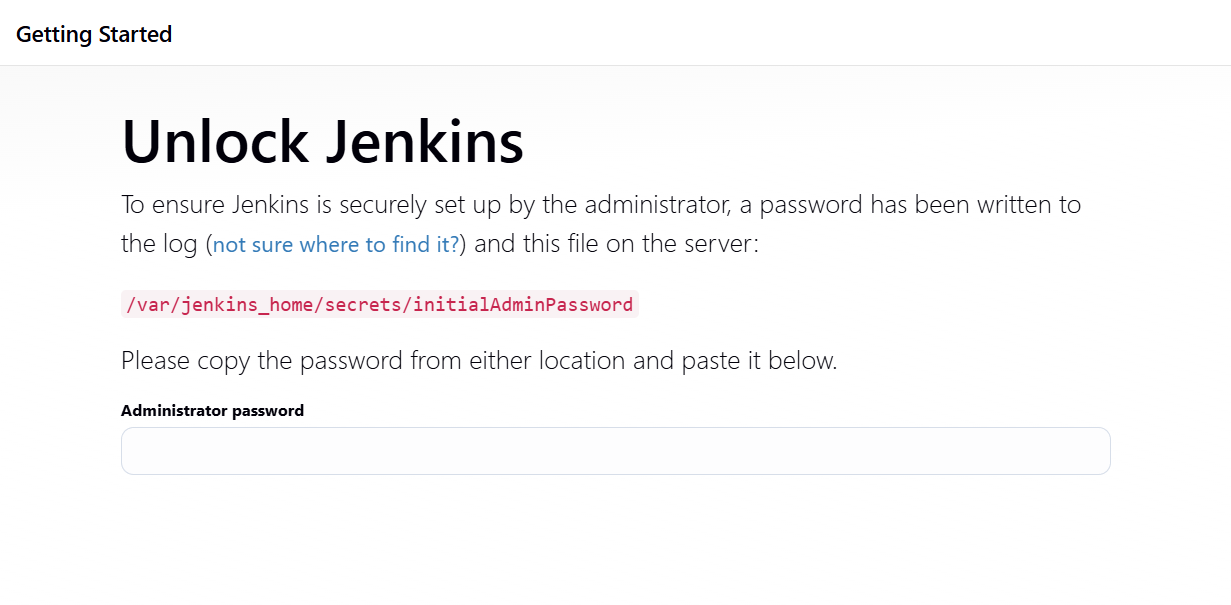
after it outputs your password then you should enter it
you will come to customize jenkins now
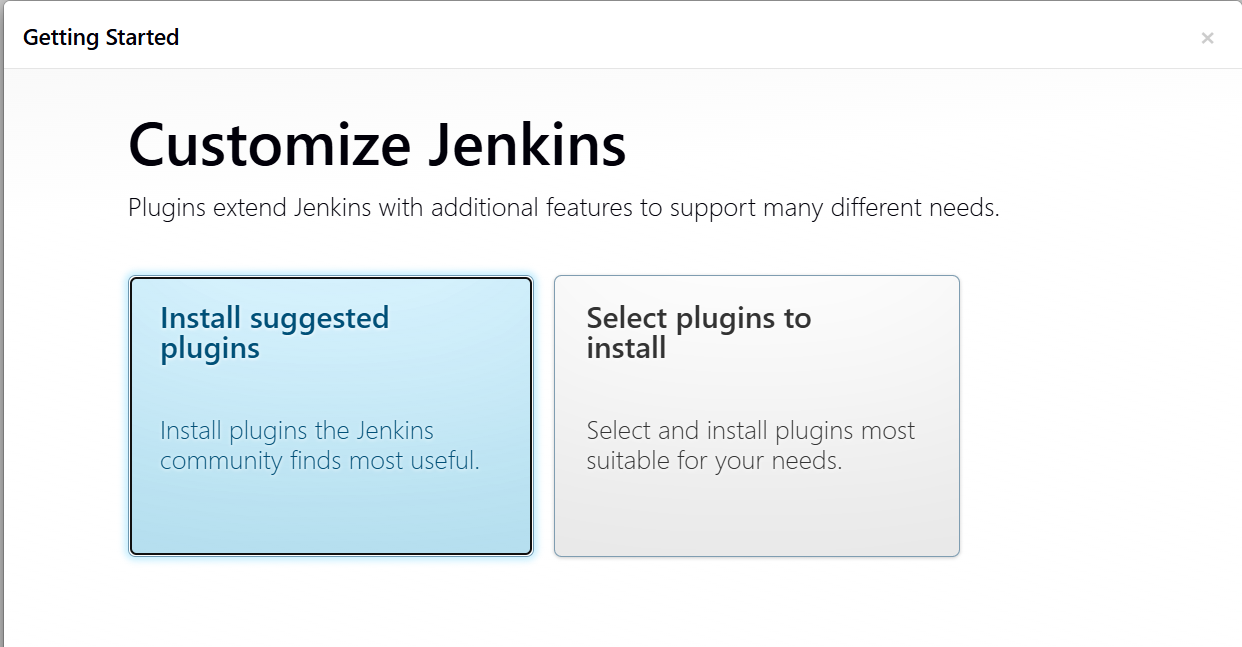
install Suggested Plugins.
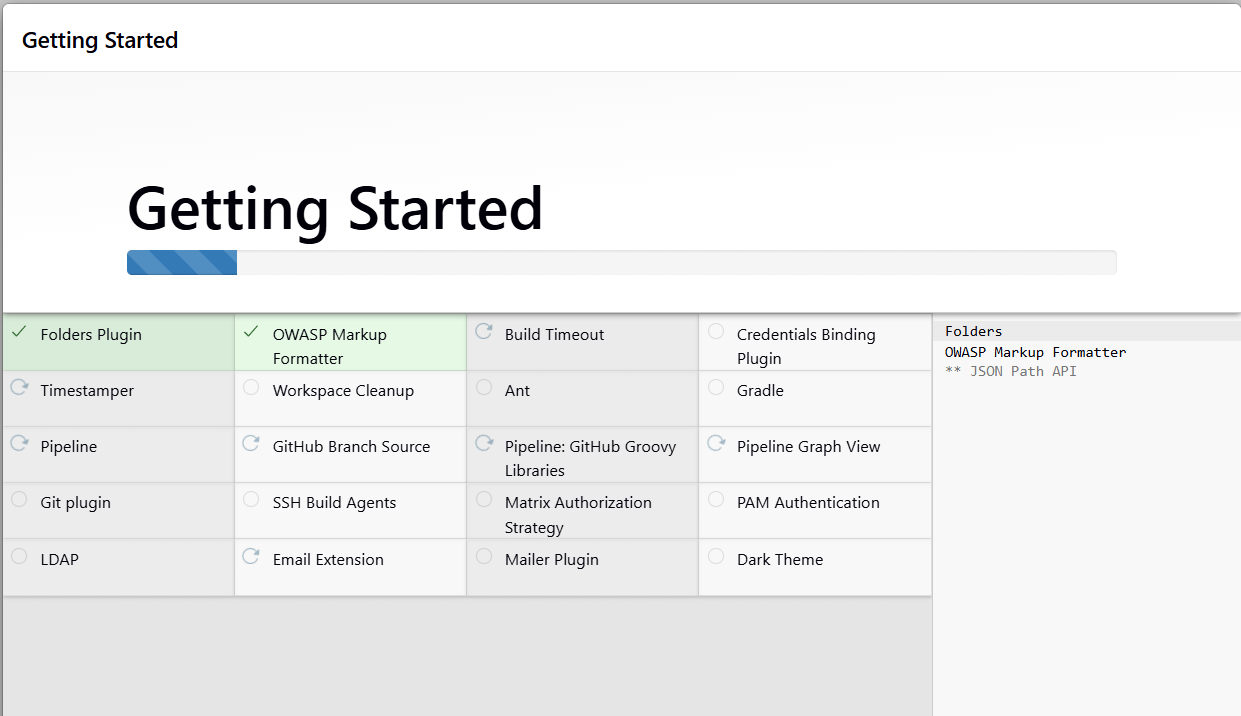
then you will wait until the required plugins are installed
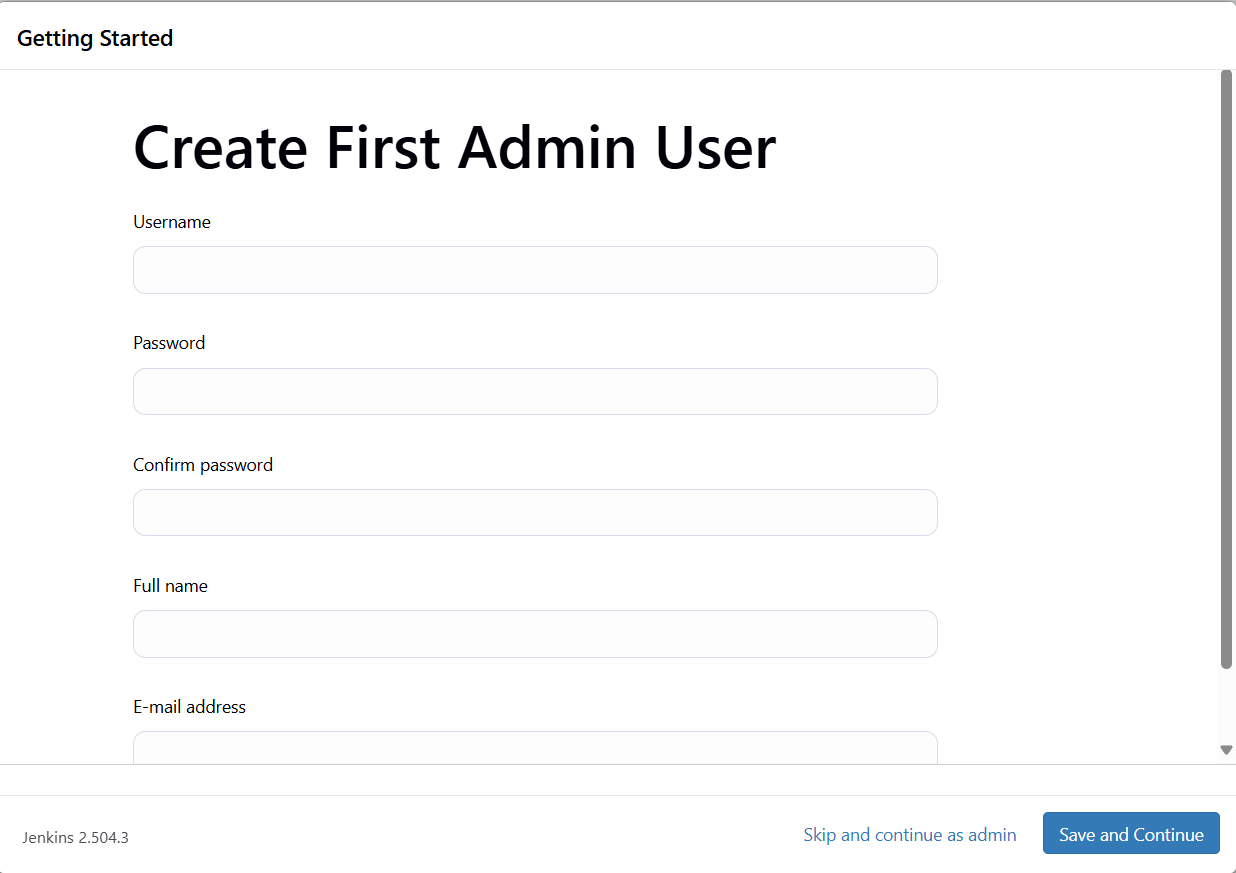
next you should set up your administrator account
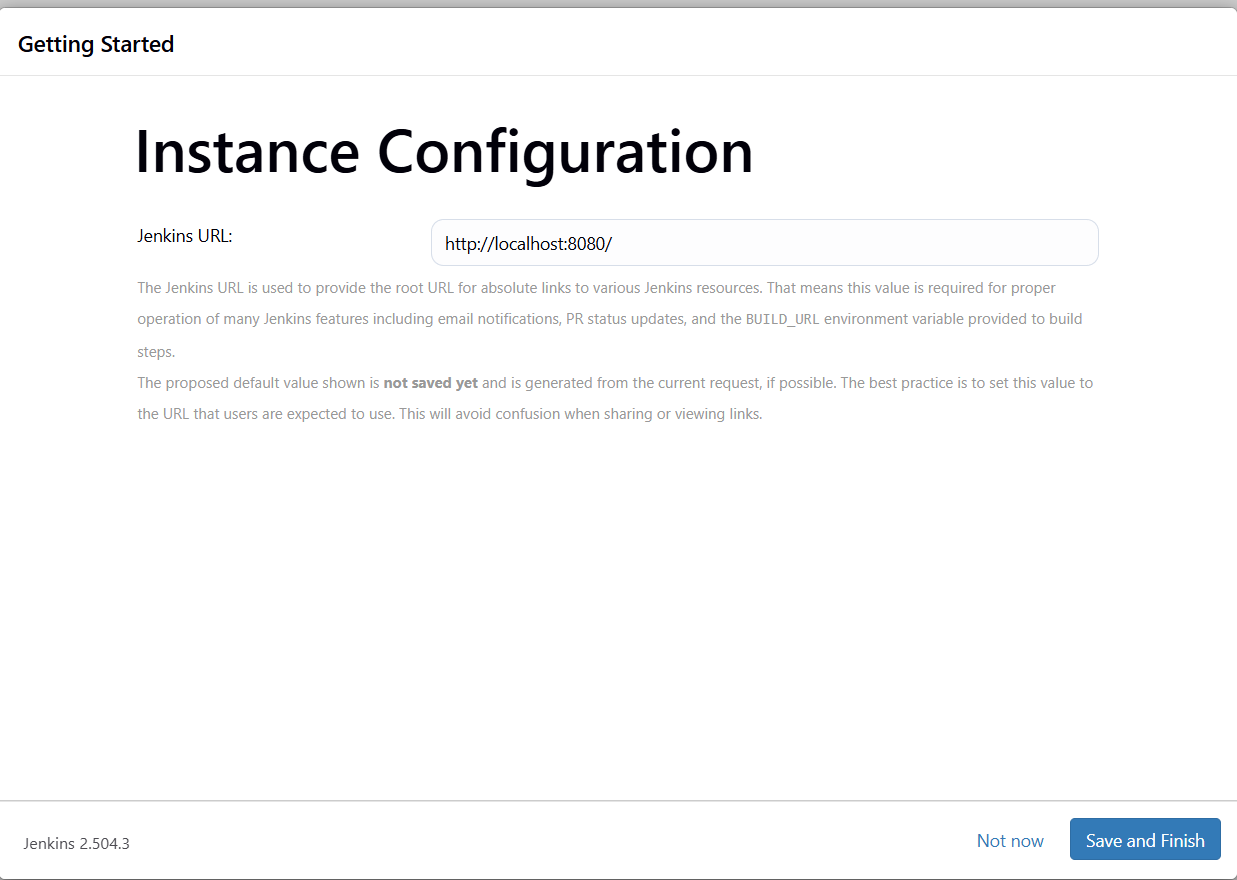
we will then be asked where we want to point this, we should leave it as default settings
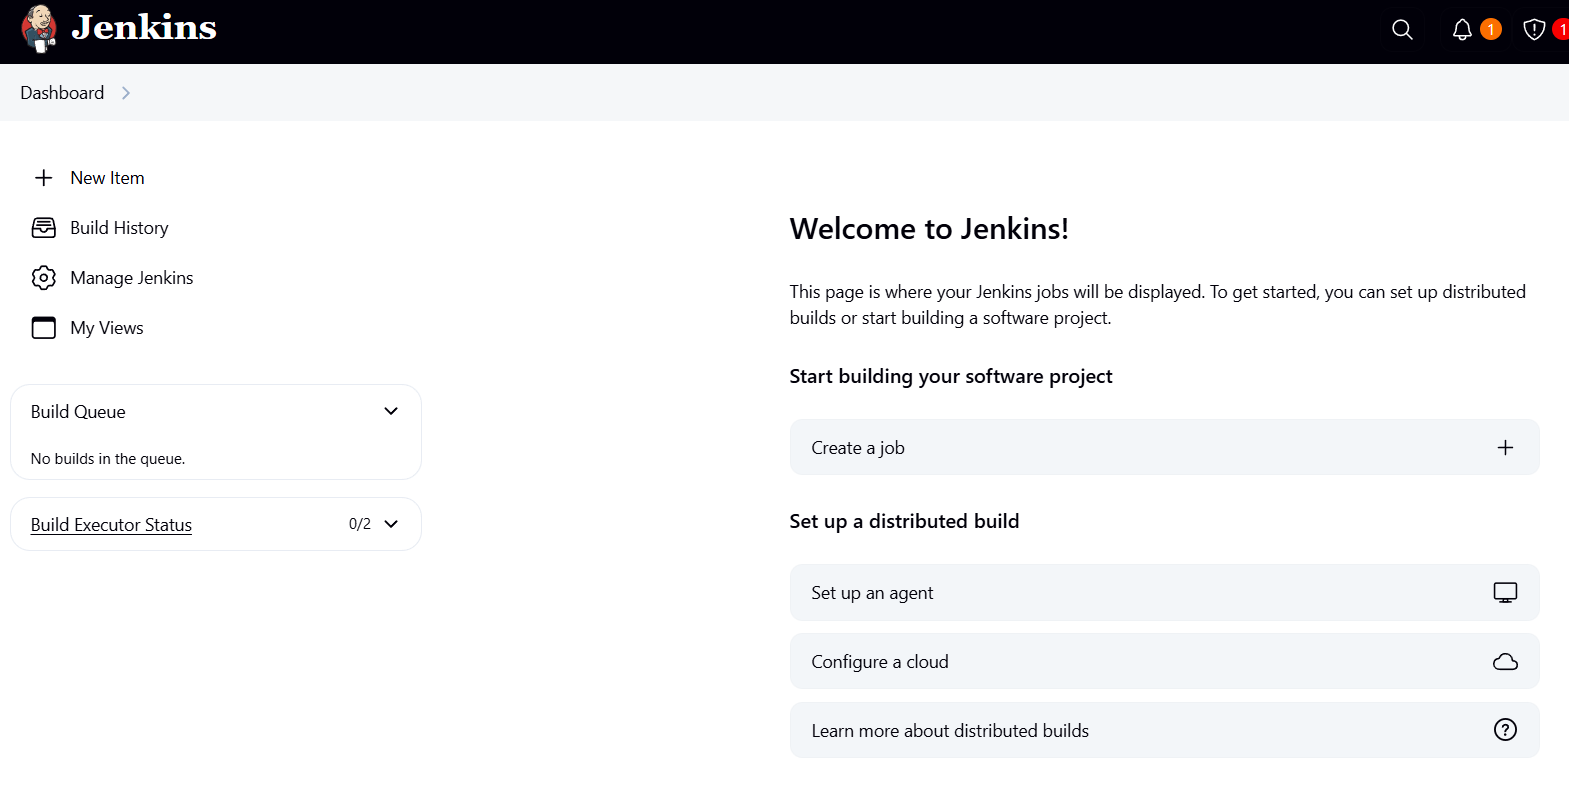
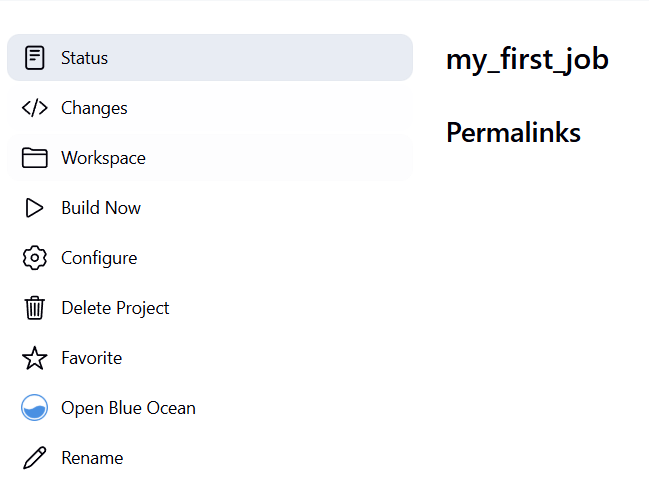
you are now in the Jenkins dashboard so now you can set up and control everything as needed
Step 5: Your First Freestyle Job
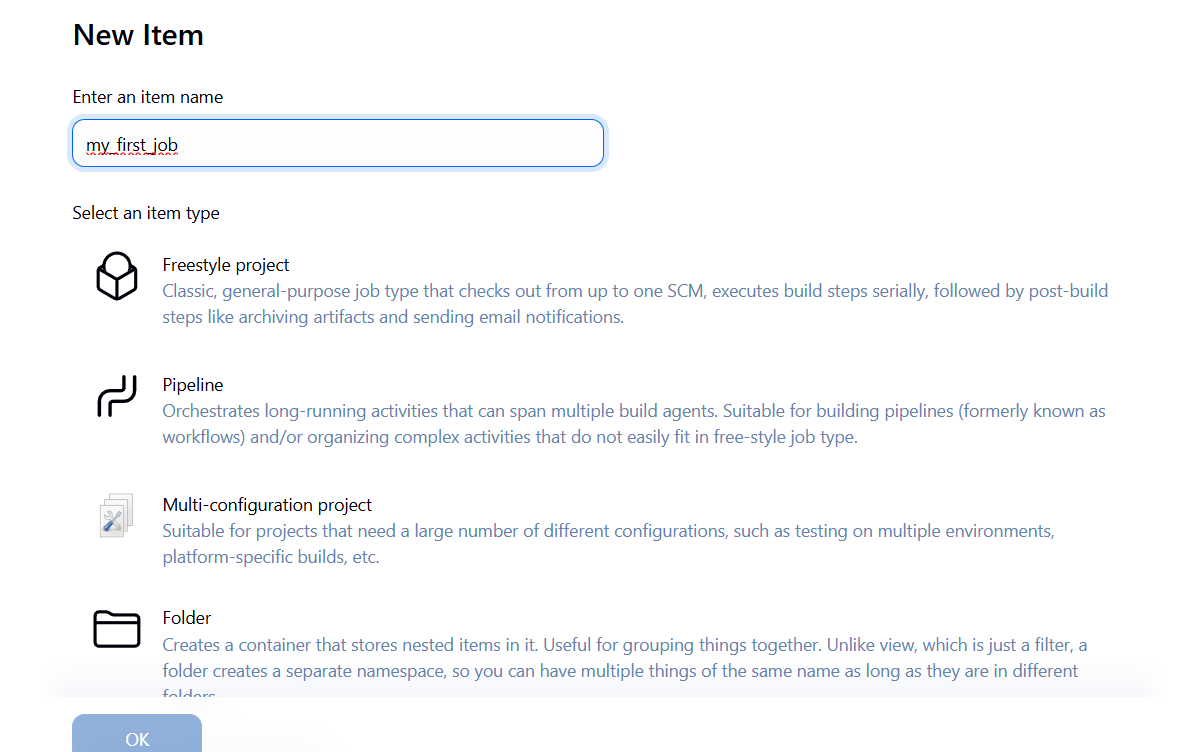
- Create a new job called
my_first_job - Select Freestyle Project
- Under Build Environment, enable:

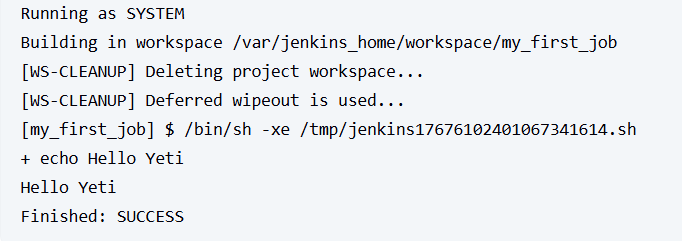
next in our Build: we should set it up to run bash scripts by using execu shell
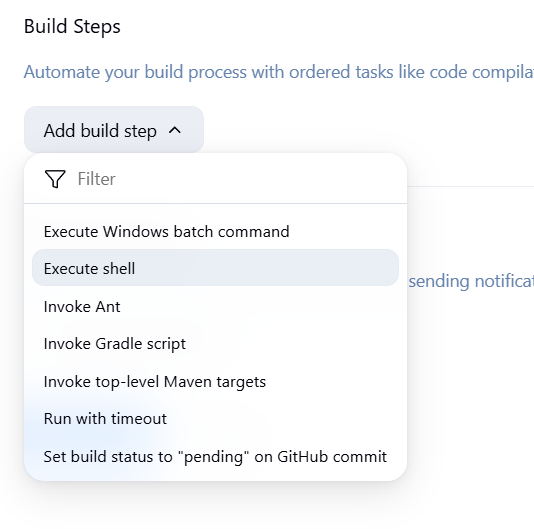
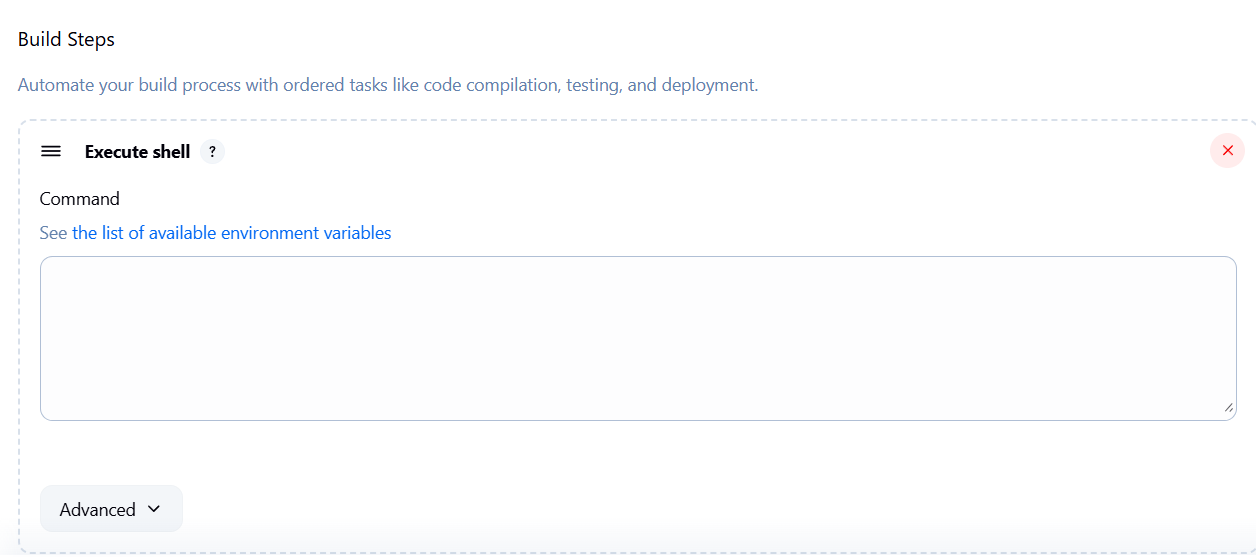
Example script:
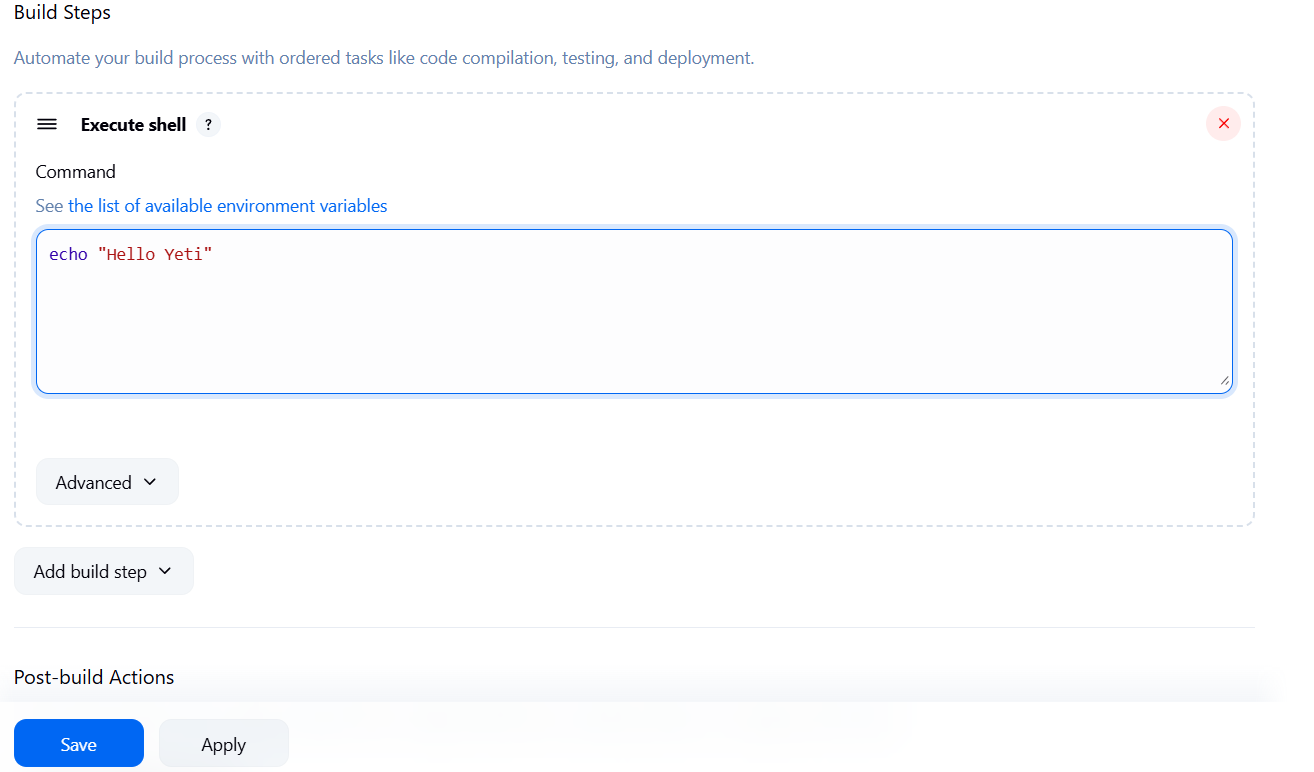
Save and click Build Now.
we can see we got a success which is great
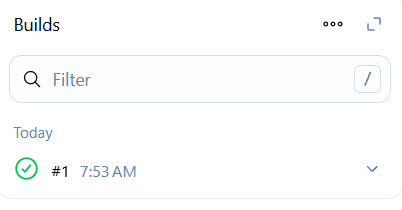
we can actually click on it and know the deeper image
and we can see it ran the script and we got a success
Bonus: Show Build Info
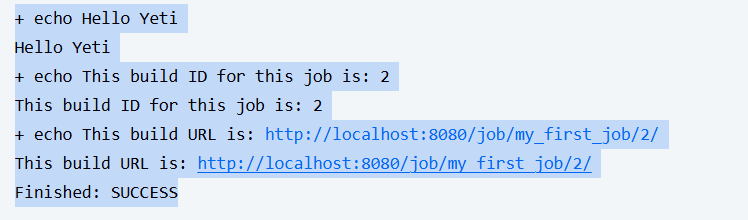
Add this to your shell step:
echo "Hello Yeti"
echo "This build ID for this job is: ${BUILD_ID}"
echo "This build URL is: ${BUILD_URL}"
Now each build will show metadata — super helpful when managing multiple pipelines.
then hit save
This will show the Build ID and URL for this job, its create for organizing especially if you have alot of jobs running.
Now we can see open the job if it was successful
File Management in Jenkins
Want to create files inside your Jenkins workspace?
echo "I am learning Jenkins" > test.txt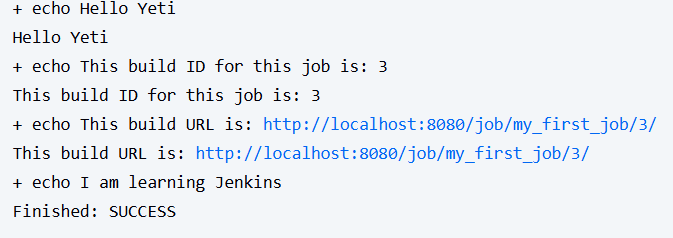
Now check the Workspace tab in Jenkins. Boom — file is there.
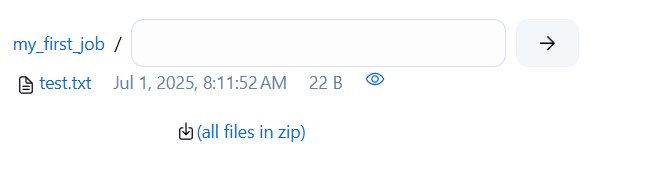
very helpful for managing all your files and updates.
Step 6: Clone & Run a Go Project
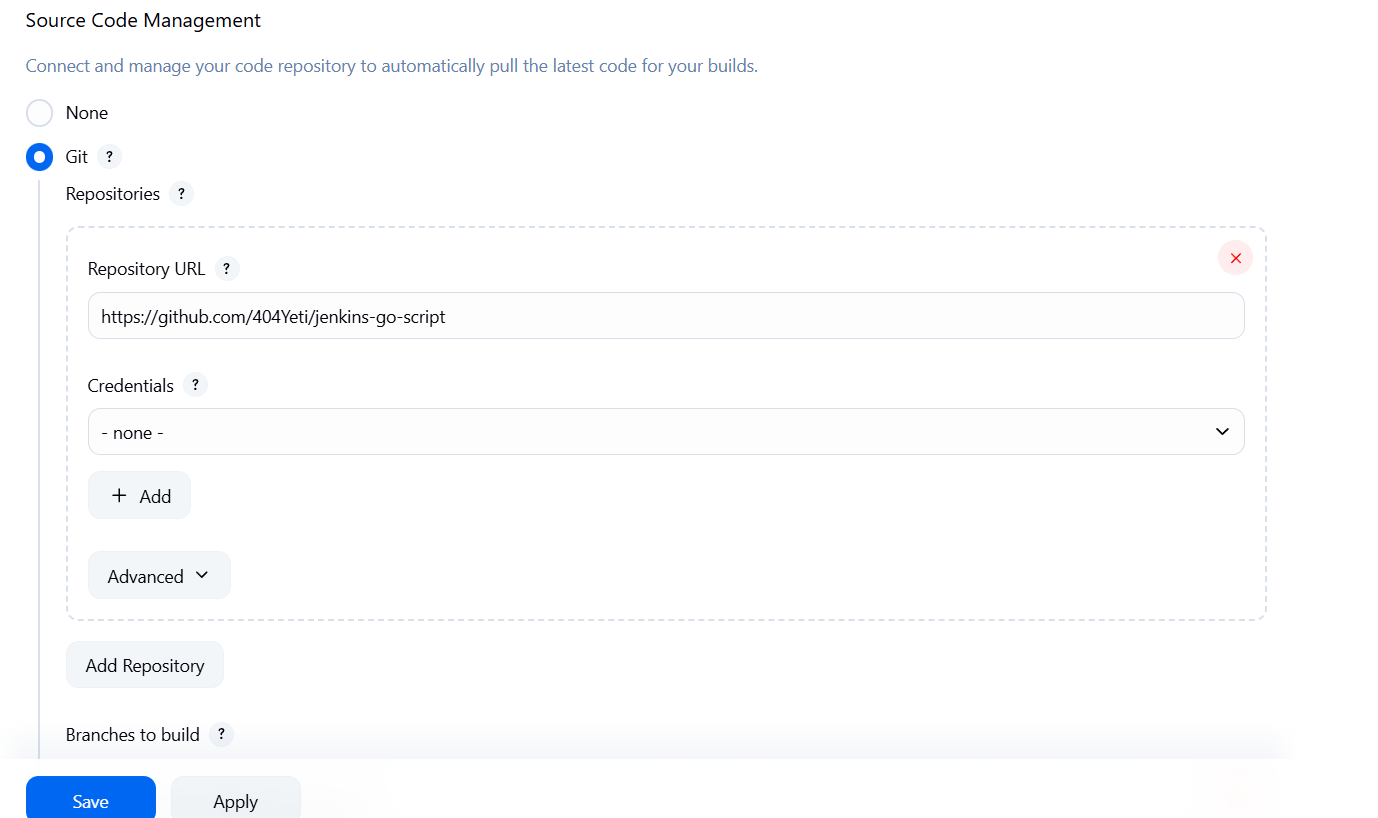
- Create a new job called
my_go_job - Under Source Code Management, select Git
- Paste your repo URL
- In the Build section:
next we will head over to our shell again and execute some code.
we will enter our command to the run script we cloned over.
export PATH=$PATH:/usr/local/go/bin
go version  # Verify Go is available
go run main.go  # Run your Go script
Note: For now, make sure Go is installed in the container or mounted on your agent.
for future reference when building a docker container I will add the ability to download go automatically to the container, But for now we will do it this way.
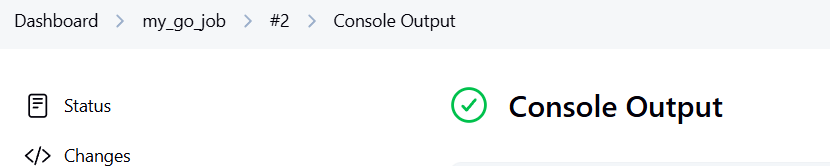
now we have successfully cloned a repo to our jenkins and ran the script from the repo
This action is much better and more efficient and we dont have to jump through a lot of hoops to achieve some goals.
Now run this to create a local Docker listener:

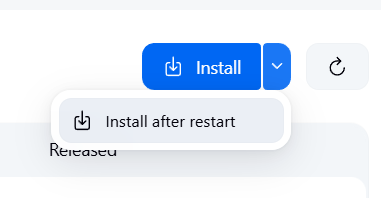
Hit go over to install and choose after restart
After everything is installed hit "Restart Jenkins when installation is complete and no jobs are running"
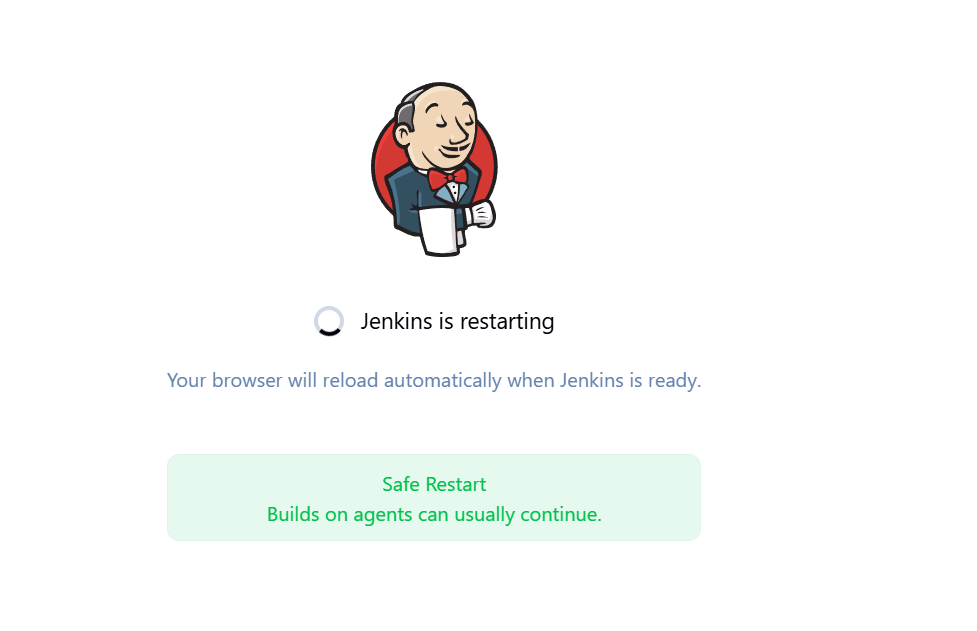
let jenkins restart and you should be good to go
now we can go over to our plugin manager to verify its all been installed
Next go back to clouds and press "add new cloud" and choose docker.
Now that we are going to build this cloud with our container we need to do some additional steps so first we should try to run another container in our project so use this script
docker run -d --restart=always -p 127.0.0.1:2376:2375 --network jenkins -v /var/run/docker.sock:/var/run/docker.sock alpine/socat tcp-listen:2375,fork,reuseaddr unix-connect:/var/run/docker.sockGet container IP:
docker ps now
and grab the container name for example mine is hopeful_raman
next you should inspect the container so use
docker inspect <container name>Copy the IP and add it in Jenkins cloud settings:
tcp://<container ip address>:2375replace <container ip address> with the actual containers IP address.
click enabled and then
Test the Connection.
if connection is correct you will get version information

Next we will save.
Step 8: Add Docker Agent Template
- Label:
docker-agent-alpine - Name:
docker-agent-alpine - Image:
jenkins/agent:latest - Instance cap: 2
- Remote root:
/home/jenkins
Save it.
Assign Jobs to Docker Agents
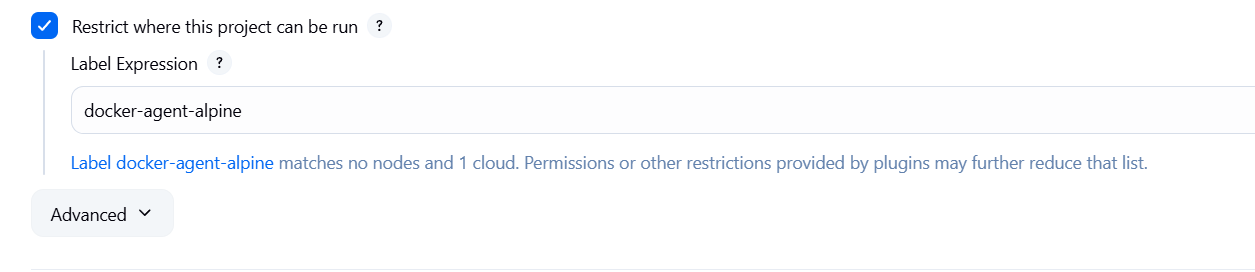
Go to my_first_job → Configure
Enable Restrict where this project can be run
Enter: docker-agent-alpine
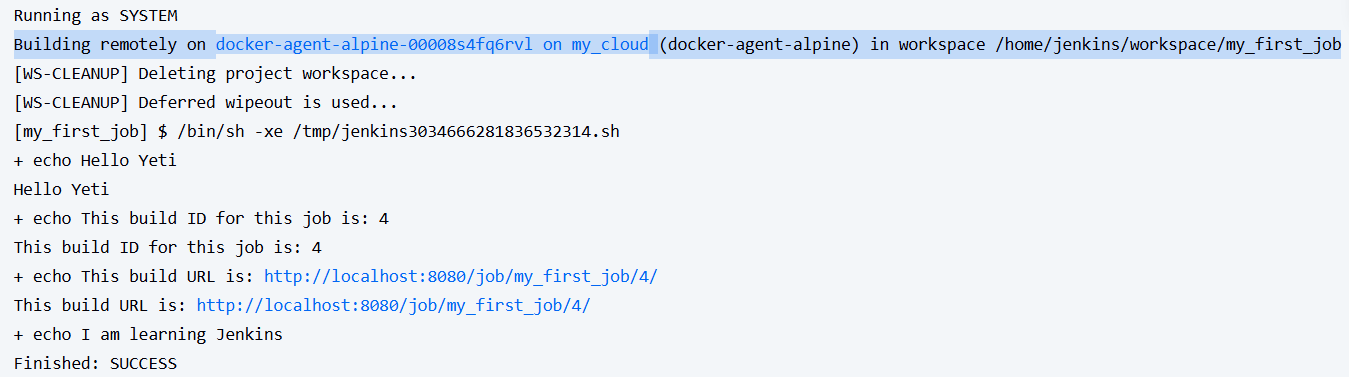
Save and build — your agent will now handle it!
lets run the job again and see if it successfully worked.
we can see in the highlighted section that the agent built it
Step 9: Custom Go Agent (Optional)
So first you should have a Docker hub account.
next build your golang image: you can use this mine if you want
404yeti/jenkins-go-agent:latest
If you create your own custom docker file you should push your custom image to DockerHub:
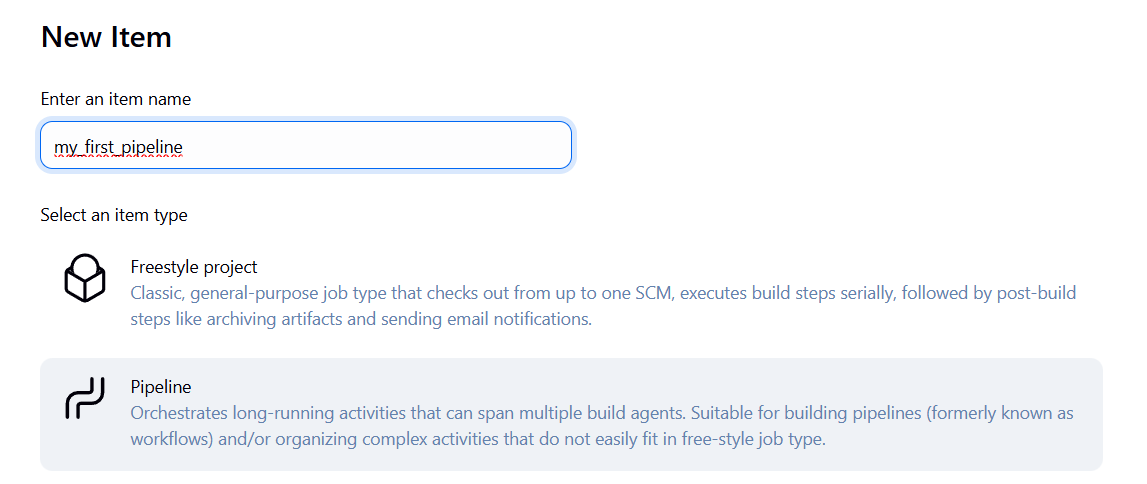
Step 10: Building Your First Pipeline
- Create a new item → Pipeline
- follow this set u
Example pipeline script:
pipeline {
agent {
node {
label 'jenkins-agent-goes-here'
}
}
stages {
stage('Build') {
steps {
echo "Building.."
sh '''
echo "doing build stuff.."
'''
}
}
stage('Test') {
steps {
echo "Testing.."
sh '''
echo "doing test stuff.."
'''
}
}
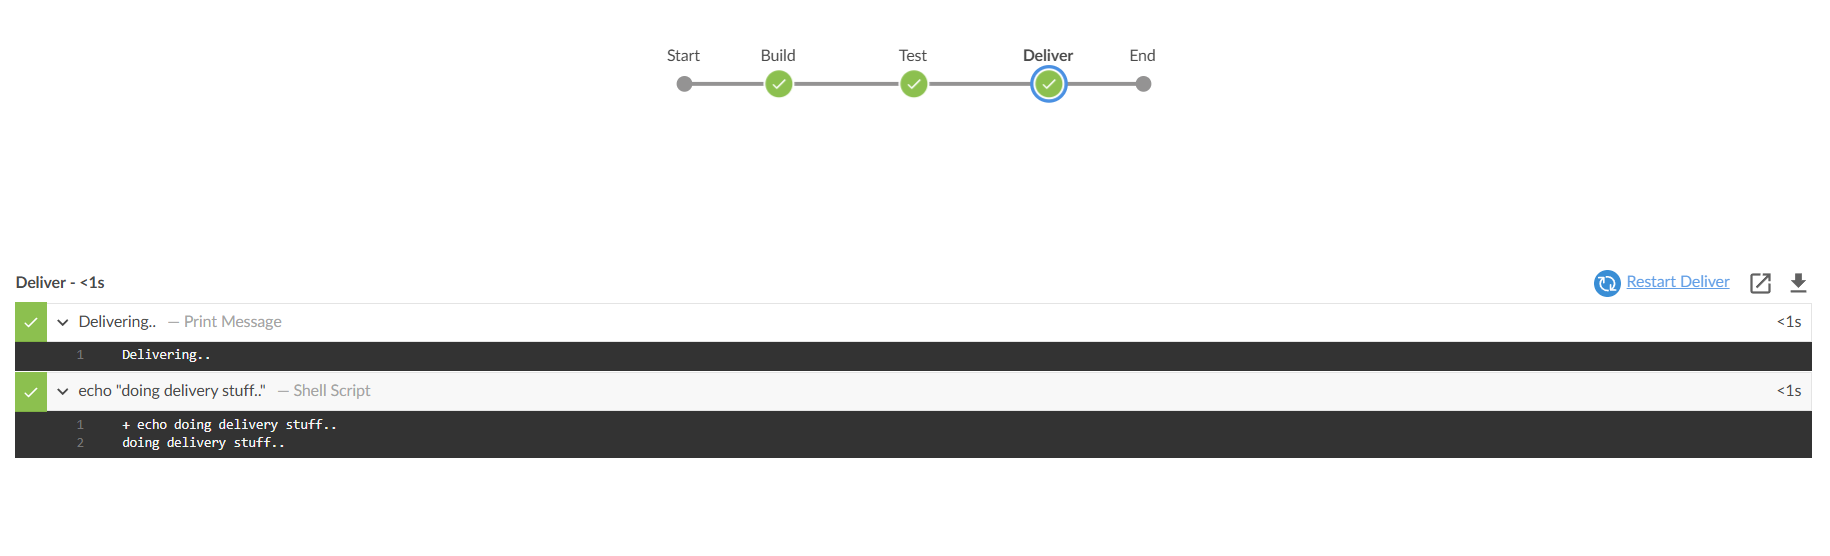
stage('Deliver') {
steps {
echo 'Deliver....'
sh '''
echo "doing delivery stuff.."
'''
}
}
}
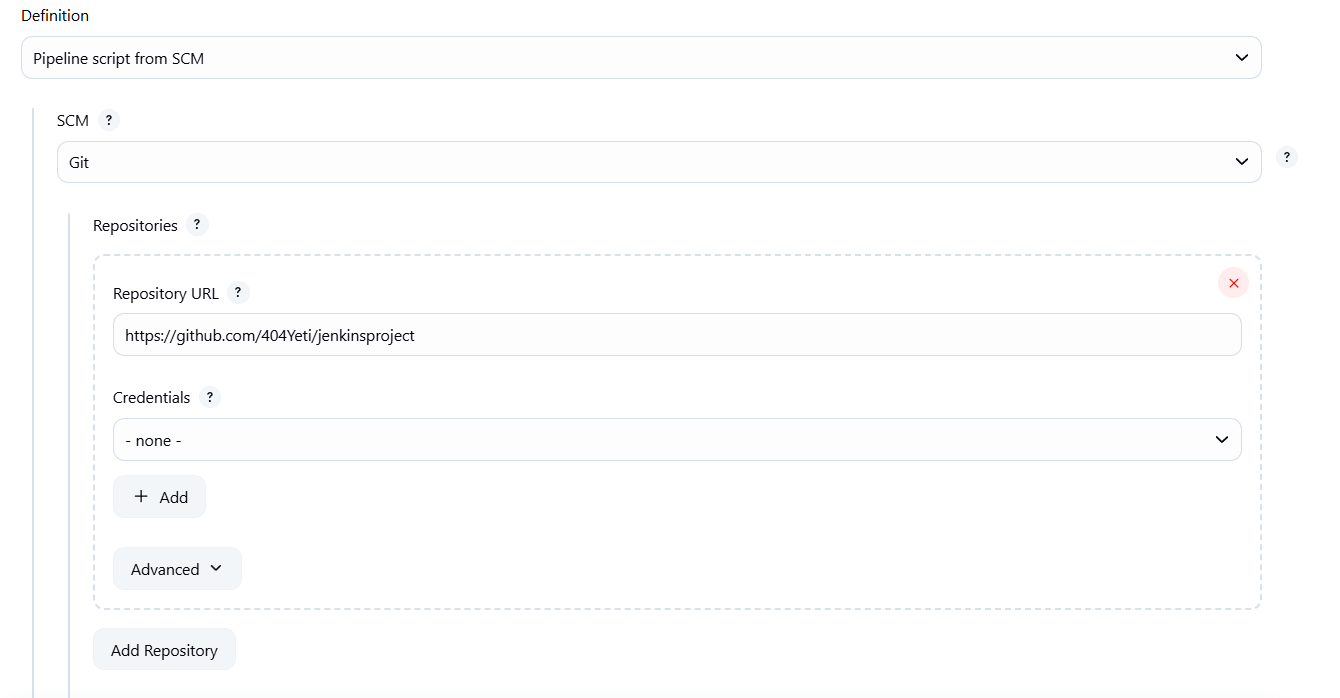
}Step 11: Connect to GitHub + Enable SCM Polling
In your pipeline job:
- SCM → Git → paste repo URL
- Add poll trigger:
triggers {
        pollSCM('H/10 * * * *') // Polls SCM every 10 minutes
Now Jenkins will auto-check for new commits!
Bonus: Use BlueOcean for Beautiful Pipelines
Install BlueOcean if not done yet:
- View pipeline visually
- Easily track build stages, logs, and branches
Now we can see how the build looks in a more beautiful and straight forward way
Final Thoughts
What we built today:
- Jenkins in Docker
- Freestyle and pipeline jobs
- Docker agents with Go support
- Automated builds and SCM triggers
“CI/CD isn’t just about automation. It’s about building confidence — one clean build at a time.” – 404Yeti
More enhancements coming soon — including security hardening and secret scanning.
Until then, stay frosty.
404Yeti out. 🐾